
NOTE: Unfortunately, after recently testing Jitsi with a ~10 screen call, I am unable to recommend the default configuration for larger conferences, due to both client and server issues. The only good known alternative that (supposedly) works well with a default configuration is Big Blue Button. However, BBB’s minimum server requirements are “8GB memory with 4CPU cores” – on a non-virtualized host. While the cost of such a server shouldn’t be an issue for most businesses in need of video-conferencing, the goal of opensourceit.org is to make sure that open source alternatives are at least on par with the cost of proprietary/SaaS offerings. To that end, I will continue to test out Jitsi configurations to try to find a setup that can reliably support at least a ~10 screen conference. (See “Set Up Jitsi > Performance Optimizations”, below.)
Overview
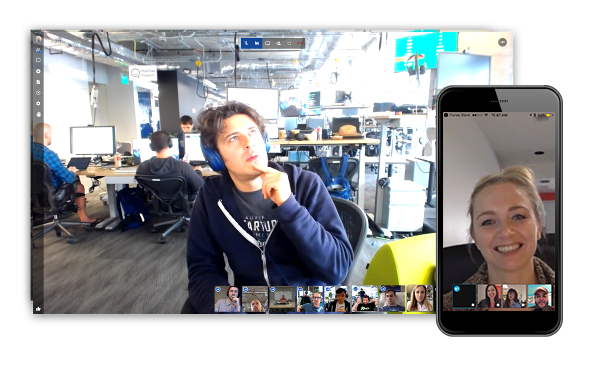
Unfortunately, at the current time, both Yunohost and Nextcloud don’t do video conferencing very well. For reliable video conferencing, we’re going to have to set up our own Jitsi Meet service. Similar to the Yunohost install, this process also involves several technical steps.
NOTE: If all you want is video conferencing, then you can use the simple “one-click” services provided VPS hosts like Digital Ocean or Vultr for installing Jitsi. But if you want to have fewer servers and save cost, then running Jitsi alongside Yunohost takes a few more steps. This guide assumes you have at least set up your own Debian VPS server.
Install Docker
If you’re using Digital Ocean, you can install Docker according to steps 1-2 in the following guide: https://www.digitalocean.com/community/tutorials/how-to-install-and-use-docker-on-debian-9
NOTE: At the time of this writing, the step in the guide sudo add-apt-repository "deb [arch=amd64] https://download.docker.com/linux/debian $(lsb_release -cs) stable"
had an error, and so the Debian release version had to be fetched separately and the line needed to be added manually using a text editor, e.g.lsb_release -csnano /etc/apt/sources.list
Install docker-compose
sudo curl -L https://github.com/docker/compose/releases/download/1.22.0/docker-compose-`uname -s`-`uname -m` -o /usr/local/bin/docker-compose
and sudo chmod +x /usr/local/bin/docker-compose
Set Up Jitsi
Follow the docker-jitsi-meet “Quick start”, here: https://github.com/jitsi/docker-jitsi-meet.
Uncomment the PUBLIC_URL variable (remove the # character at the beginning of the line) in the .env file and set this to videochat.yourdomain.tld, or whatever subdomain where you would prefer to serve your video conferences.
You’ll want to uncomment the variables for ENABLE_AUTH, ENABLE_GUESTS and AUTH_TYPE in .env so you can add users and passwords for your meeting organizers to avoid getting “Zoombombed“. (If you run docker-compose up -d before setting these variables, you may need to edit ~/.jitsi-meet-cfg/prosody/conf.d/jitsi-meet.cfg.lua and set authentication = "internal_hashed".)
Performance Optimizations
The following optimizations are currently being tested. You are welcome to give them a try as well:
- change the following settings in the
~.jitsi-meet-cfg/web/interface_config.jsSET_FILMSTRIP_ENABLED: falseDISABLE_FOCUS_INDICATOR: trueDISABLE_DOMINANT_SPEAKER_INDICATOR: trueDISABLE_VIDEO_BACKGROUND: trueDISABLE_JOIN_LEAVE_NOTIFICATIONS: false
- in
~.jitsi-meet-cfg/web/config.jsdisableAudioLevels: trueresolution: 480enableLayerSuspension: true- uncomment the
constraintssection and set to:constraints: {
video: {
height: {
ideal: 480,
max: 480,
min: 240
}
}
},
- Limit number of video feeds forwarded to each client: in
/etc/jitsi/meet/$(hostname -f)-config.jsclearly not a preferable optionchannelLastN: 4
- have all meeting participants only use Chrome/Chromium desktop (no mobile or other browsers) clearly not a preferable option
Start the video service with:docker-compose up -d
Then add at least one meeting organizer with a username and password who is allowed to start the meeting (all other guests can join without needing an account):
docker exec -it docker-jitsi-meet_prosody_1 bash
prosodyctl --config /config/prosody.cfg.lua register username meet.jitsi password
Configure Yunohost to Serve Jitsi
In the Yunohost administrator panel, add your video conferencing subdomain and add a Letsencrypt SSL certificate.
Then edit the second server section in /etc/nginx/conf.d/videochat.opensourceit.org.conf (using nano or other text editor), remove the line access_by_lua_file /user/share/ssowat/access.lua and add the following lines:location / {
proxy_pass https://127.0.0.1:8443; }
Restart your Yunohost webserver with sudo service nginx restart.
Now you can create video conference rooms at videochat.yourdomain.tld, add these to meeting invitations, etc.